
Wallpapered with a lighthouse/sail boat pattern, the boys in their potty-training decided to rip up some of the already-peeling edges.
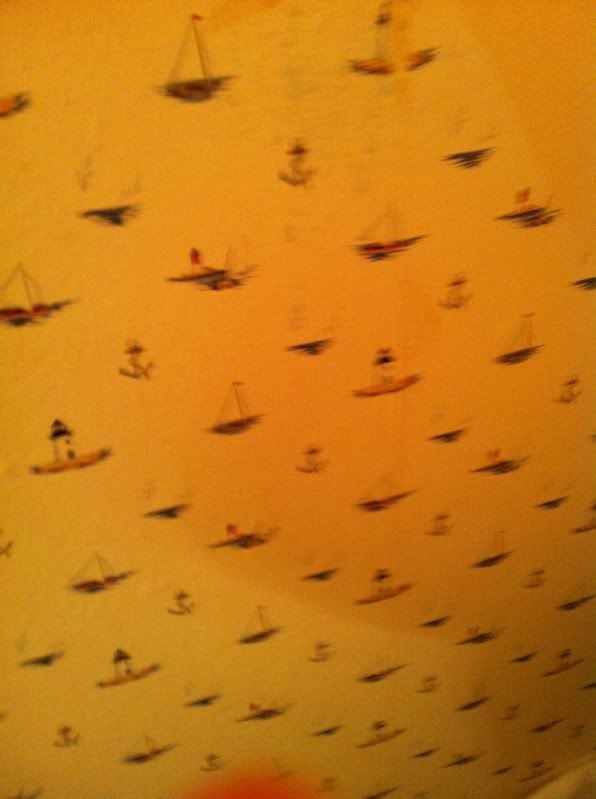
The paper was dingy at best and really didn't fit our style. It had to come down.
We met with some local professional painters and while their prices were reasonable it was still outside of what we could afford at Christmas time. It looked like if the bathroom was going to be presentable again it was up to me to make it so.
When we first moved here I was really excited to do home improvements but didn't really have the knowledge or skill for how to do them correctly. Anyone who has seen our master bathroom will know what I mean. So I'd mostly given up. Our house is just not the "dream house" I thought I'd create.
With extreme trepidation I started researching the best techniques for painting a bathroom, color selection, etc.
And I dove in... tearing off the wall paper first.
Surprise.
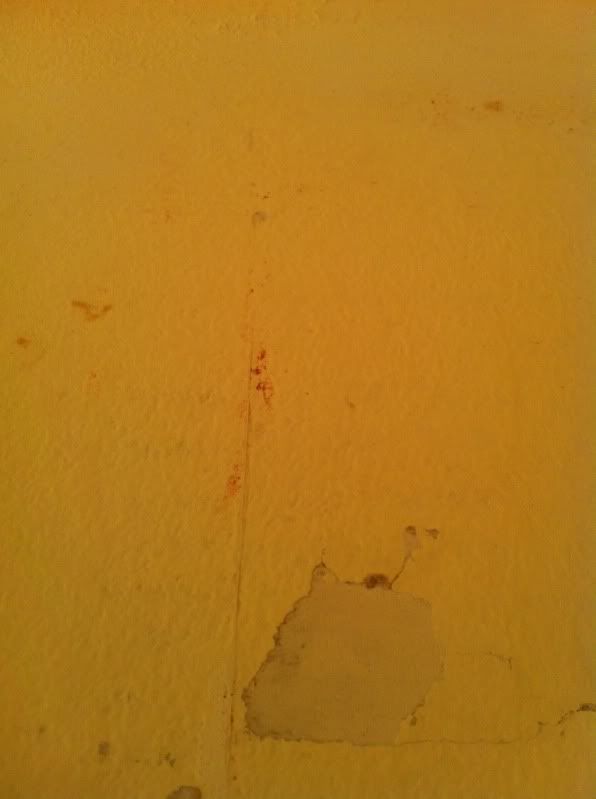
There was another layer of wall paper under it.
Double surprise, they'd painted over the drywall before putting the paper on. That's a good surprise because everywhere else in the house had wallpaper glued directly to the drywall which is a nightmare.
I got the paper down and the walls were in surprisingly excellent shape, if a little bloody underneath. (My facebook friends have followed that saga)
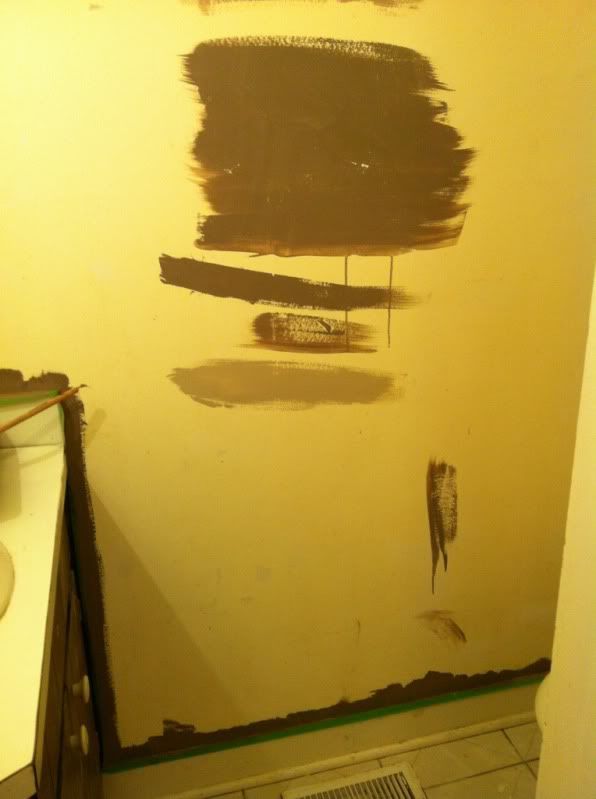
Learning from lessons past (again, see note above regarding the master bathroom) I found a color family I liked, tested the colors on the wall, texted pictures to some trusted friends and family to get opinions and picked a color.
Then I taped off the trim using frog tape. Why mention frog tape specifically? Because it worked like a charm, went on quite easily and I tell you what - not a drop bled through that tape. All future painting projects will include frog tape.
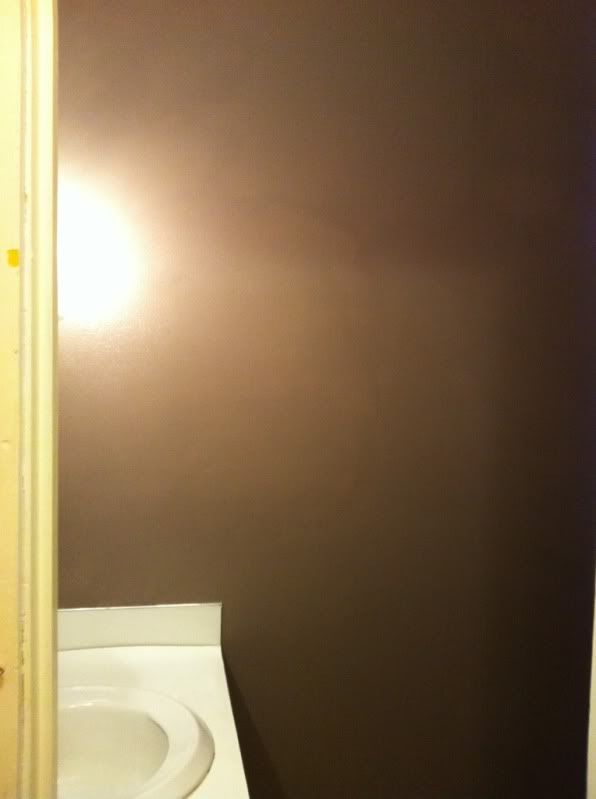
The bathroom looks amazing now.
We love it.
Sometimes I want to just go stand in there and feel like I did something right.
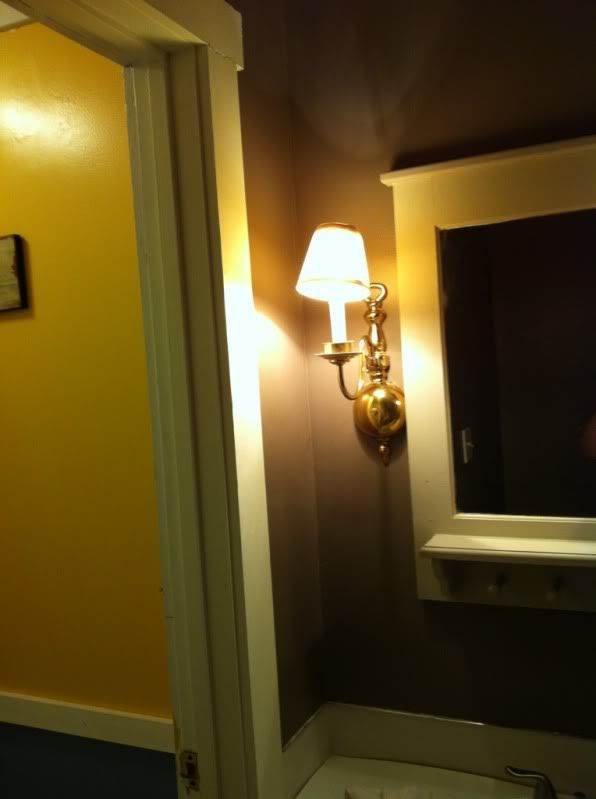
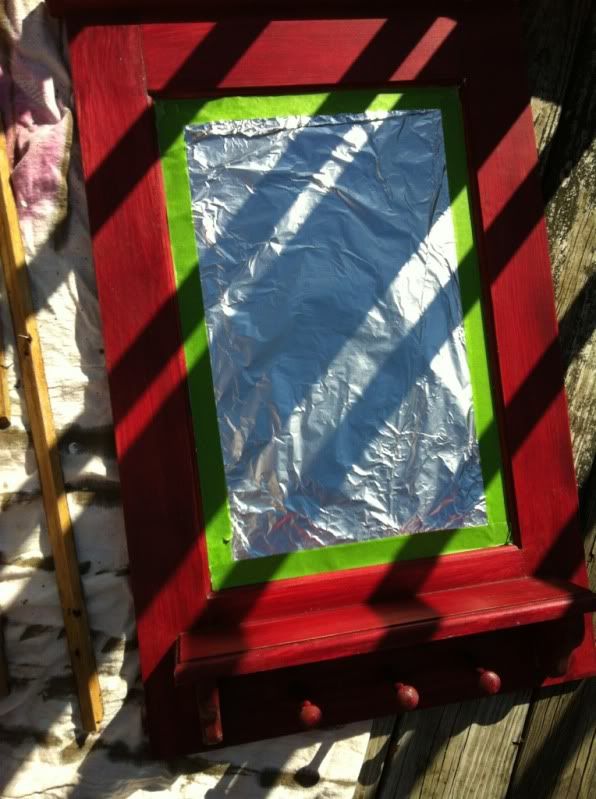
The old mirror was red.
Now it's white and looks crisp and clean against the brown/gray of the wall.
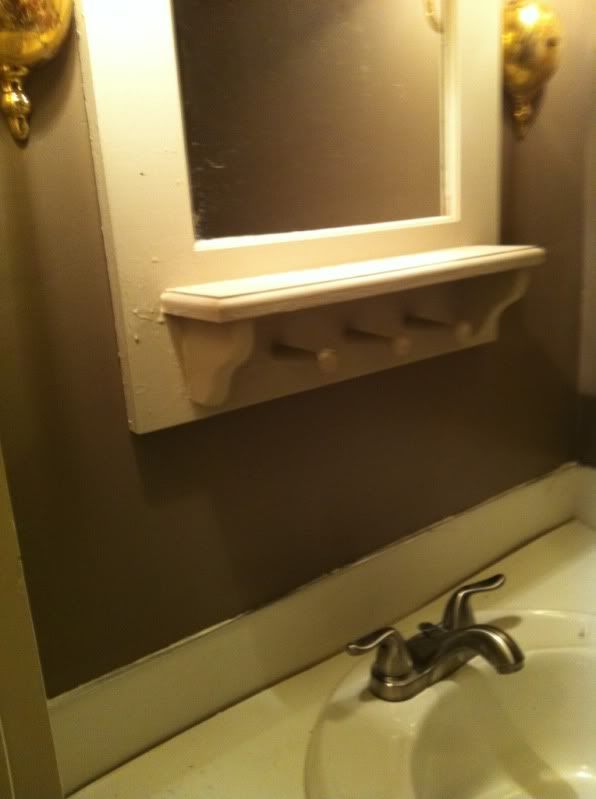
I was concerned about going dark in a small room but several blogs suggested that when a room really is small it's okay to go dramatic on the color. It's absolutely beautiful in there. I gave the cabinets a total makeover too.
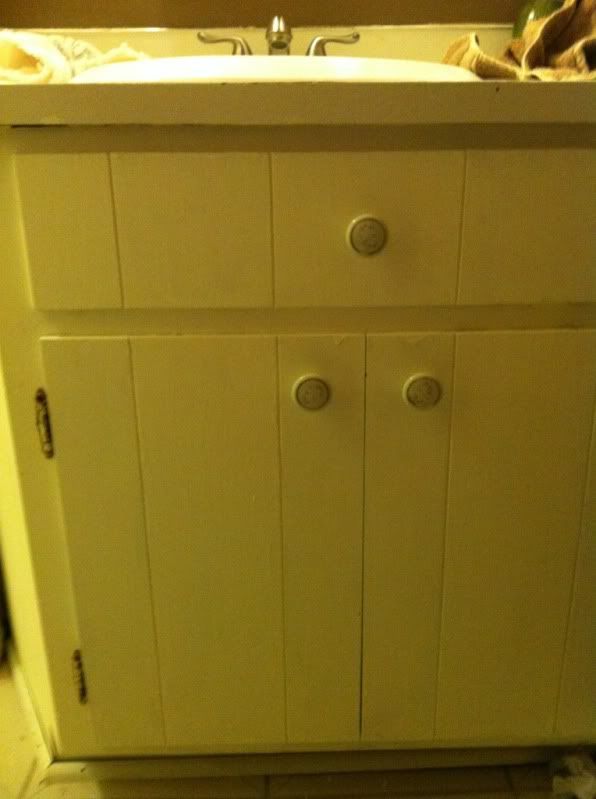
They started out a dark wood color:
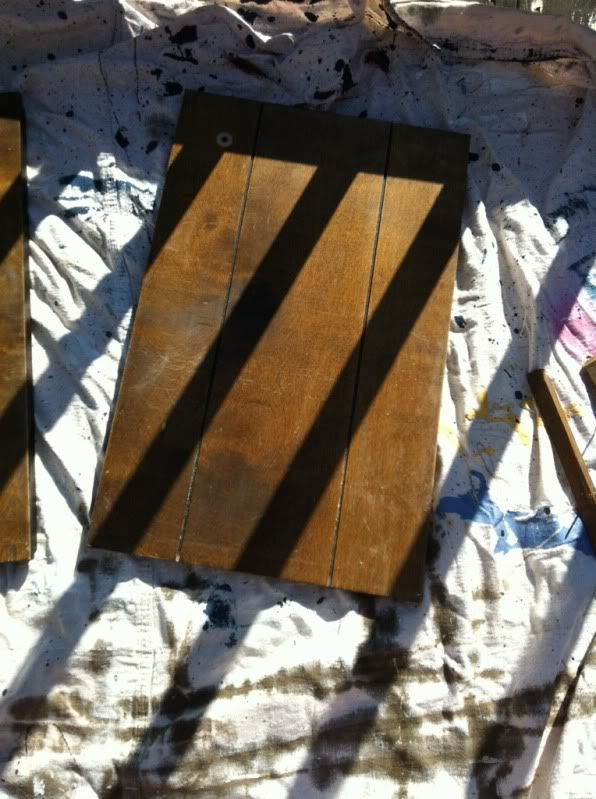
now:
The best thing about this whole project is the cost.
Our lowest painter-estimate started at $250.
I spent $40 on a gallon of paint and a few supplies.
It took me 2 evenings to get the wall paper off (12 hours), 1 hour in an afternoon to spackle, 1 evening to sand and wash the walls, 1 evening to paint the walls, and most of a Saturday to touch-up the walls, paint the cabinets and trim and clean up.
Worth the time to save the money in this case as I found I really enjoyed doing the work.
I think it's even given me the courage to tackle the master bathroom again.

Looks awesome!!!! Way to go Julianna!!!!
ReplyDeleteI can't wait to pee in your new bathroom in about 19 days!
ReplyDelete