Life is more fun when you RAWR!


Showing posts with label freezer paper. Show all posts

Tuesday, February 1, 2011

Let's Hear it for the Boys

Finding crafty projects that benefit boys is really difficult for this crafty mom.  Too much cutsey makes the boy look silly and, at least for my boys, it's just not their style.
That's why freezer paper shirts are perfect. You can make your own design to fit your own child's personality.
Additionally, I love for my kiddos to have holiday-themed shirts since they get so excited for holidays but I really dislike spending a fortune on any clothes for my kids since they are so generally rough on them.
So, I present to you Grant's Valentine shirt:
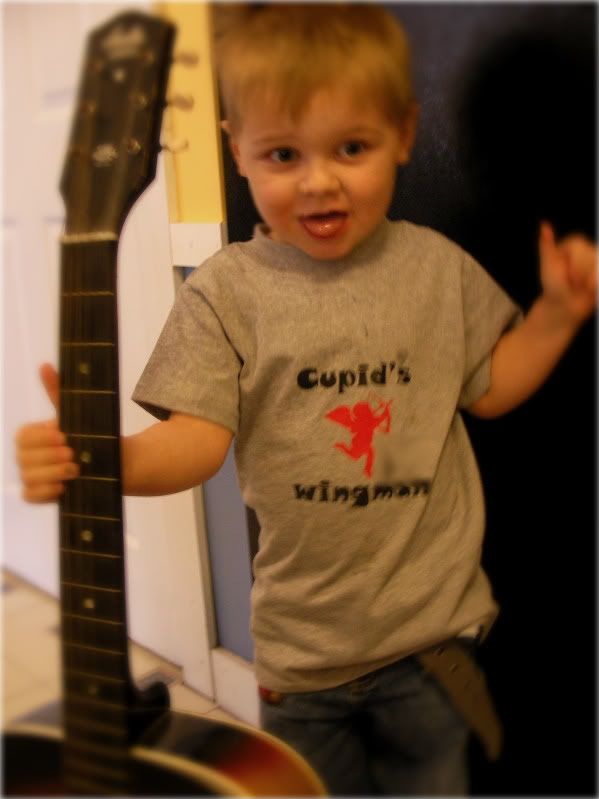
If you can't make out what it says - it's "Cupid's Wingman."  And I did think that up all by myself as opposed to seeing it somewhere and making it my own.   Hooray for me!

To make the shirt I used the same technique described here.  This time though I used two colors of paint (applied at the same time).  I also made my very own SVG file for the cupid icon, something that's very very simple to do with Sure Cuts A Lot's trace feature. If you want a copy of the cupid.svg or just a copy of that cupid.jpg to make a similar shirt (it's a simple enough drawing that you could easily print it and cut it out with an exacto knife) just leave a comment here with a way to contact you and I'll send it your way.

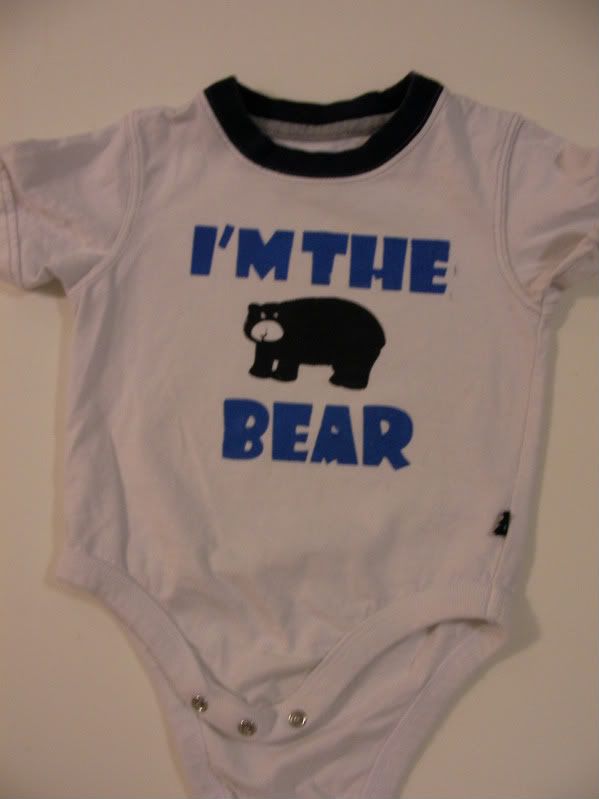
And when you're the mom of a bear, you want him decked out in bear gear.
Today I saved a onesie from the rag bin with just a little paint!
Front view:

Back view:
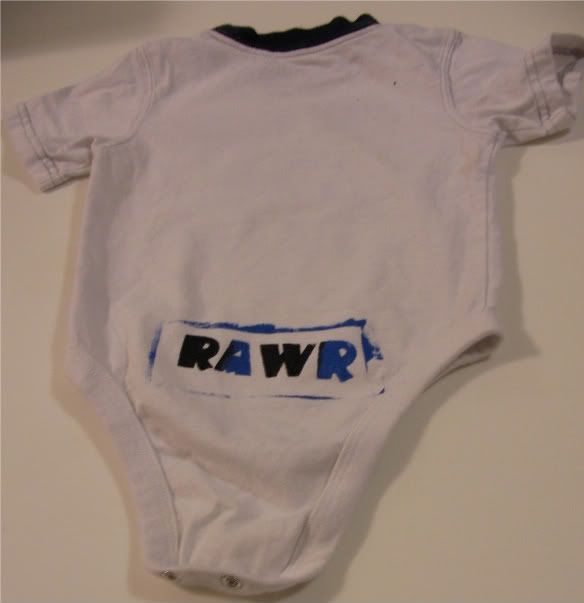

There is something just so right about how this turned out.  It is absolutely perfect for my little bear.  I got a little creative by painting around the edges of my stencil on the back of the onesie and I really like how that turned out.  I'm actually now thinking of making my own personal tags say "Rawr" in this font and everything.

Friday, January 28, 2011

In which: I join the freezer paper bandwagon

I've had my eye on doing freezer paper t-shirts for a while.
I first saw the technique on MADE and fell instantly in love. Little Bit Funky is in on the freezer paper action as well. It's the perfect project because it's fast, simple, inexpensive and has near-instant gratification.
So here we go:
Freezer Paper shirts Julianna style!

First the freezer paper.

I bought a big roll of it at Target. It's in the same section as the tin foil and plastic wrap. I had to hunt for it a little
I cut the shape out using my cricut and the Wild Card cartridge. I wanted to make a Valentine's shirt so I found a card element that was "Valentiney." I put the freezer paper right on my Cricut cutting mat and cut away.
When peeling your paper off your mat remember that you're painting in the negative space so save any small dots for eyes and inner parts.

Next: iron the paper to your shirt (shiny side down)


It's time to paint! I chose a matte fabric paint (did you know they actually still sell puff paint? It's like 1988 all over again!) and used a sponge brush and applied a thick coat.

Put something in the shirt to keep the paint from bleeding to the other side. I used a paper grocery bag. I save tons of those paper bags thinking they might come in handy. And look! They did!
Let the paint dry then peel off the paper.
Iron over the paint to set it. DO NOT IRON ON IT DIRECTLY. COVER THE PAINT WITH ANOTHER CLOTH FIRST.

And there you have it... a fantastic custom shirt!  It looks even cuter on our model!
This is Grant's Valentine Ella.  Her mommy blogs over here.


I purchased all of my supplies at Hobby Lobby. The shirts were less than $3 as was a tube of paint which will last for a really long time.
I'm super excited to do custom shirts, bags, hats, etc using this technique because it's simple and fun.