

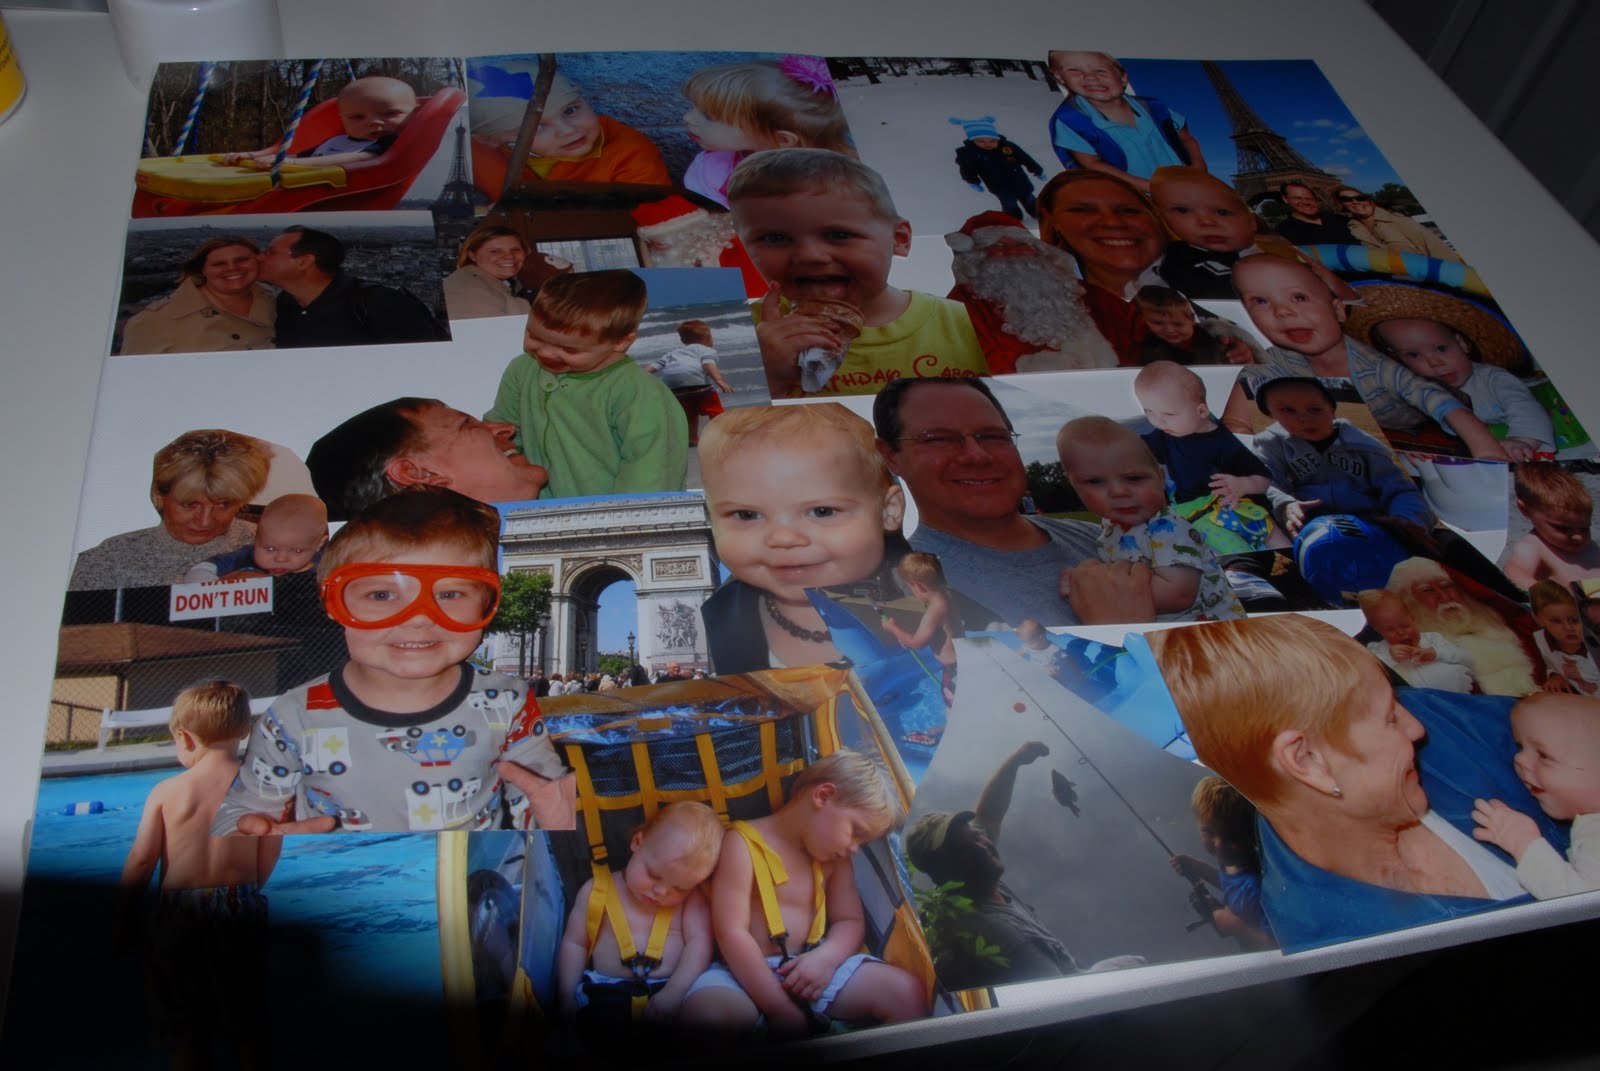
Every December since 2005 I've printed out pictures of our family throughout the year and turned them into a fun collage that we hang in our kitchen. They're a great conversation starter when we have people over and really they tell the story of our family in a fun, special way. In 2005 you can see our trip to Gettysburg, our moving truck, my brother before he left on his mission. 2006 has my brother-in-law's wedding, my baby shower, my nephew's birth. 2007 has me becoming a mom. 2008 has our snow and travel adventures. 2009 has me becoming a mom again (from positive pregnancy test to baby shower to birth) plus me with Ben Folds! Now 2010!! It has Paris, it has the beach, the pool, snow, Santa, all of our fun times summed up. Admittedly, 2005's collage isn't nearly as well done as 2010's. I've gotten pretty good at these over the years. It's a really easy, fun project to do and since I've ironed out the kinks, here's a quick tutorial.
What you need:

A canvas
A ton of pictures from throughout your year. Go for pictures where the background can be cut out but you still know exactly what the picture is about. I happened to order mine from shutterfly. It really doesn't matter. What does matter is that they are a matte finish NOT GLOSSY. The ink from your glossy pictures will run when you put the glue on them.
Scissors
Mod Podge
A paint brush.
This year I tried using spray adhesive but, meh, made no difference so feel free to skip it.
The first thing to do is cut out your pictures. Go for pictures that don't have a lot of fine, subtle details. Those details will be lost in the “bigger” picture. Cut out extraneous backgrounds but save those pieces. They're great for filling in small white spaces.
Here's an example:

A cute picture of father and son fishing. We don't need the whole lake to make it clear what they were doing, so cut it out!

Still a cute picture but much smaller and with interesting edges so other pictures can overlap a little bit.
Once you've cut everything out start playing with them on the canvas. It's like putting together a jigsaw puzzle with no right answer. You want everything to look cohesive but not too planned.
Watch for having clumps of the same season or person. I think it looks better when there is a picture of kids playing in the snow next to mom lounging at the beach. You may disagree. Play with it and find out. Also if there are any glaring empty spots that aren't big enough for another picture, fill in with pieces of generic background that you've cut out.
Next come the Mod Podging. I've done this two ways. A few of the years I've taken everything off of the canvas once I've played with it and coated the canvas with the mod podge then stuck everything back on. Some years I've put the podge down before I started playing with the pictures but that makes a huge mess of the pics. In my opinion the best way to do this is to lay out your pictures then gently use your paint brush to coat everything with the the Mod Podge. If some of the pictures start moving put a little podge on the back and they'll stick down. You may also need to lift up some of the edge pictures and coat the backs so they'll stick. Coat the whole canvas. IT WILL GO ON WHITE.

Do no worry. It dries clear. I always let mine dry about 24 hours.
Don't forget to label your collage with the year! Use stickers, cut them out, write them on. Use your imagination.

Hang it up and enjoy!
This project is easily done in two hours but it's something your family will enjoy for years to come!


I love it! I spot Bean! :)
ReplyDeleteYour colleges are so cute, love it!
ReplyDeleteI LOVE this idea!! You're right - they would be great conversation starters!
ReplyDelete